
My ‘Surgical Mask’ Pattern
I am not an expert! This is my choice for a surgical mask pattern and is the mask preferred by my husband. I am waiting for my son to tell me whether it works with a beard!
My thoughts on types of materials that may be used can be found in previous postings. I do not recommend the use of hepa materials associated with vacuum cleaners and furnaces. It seems that the companies that produce these filters are now giving an emphatic NO to inquiries about their use. The argument is that they give off small particles that when released into a large area do no harm, but in the confined area of a mask can create health problems in the future. It’s your decision, I’ve decided to error on the side of caution.
I spent long hours volunteering during the ice storm of 1998 in eastern Canada. I didn’t intend to spend this amount of time researching and writing about the issue of cloth masks but, true to form, I’ve been drawn into this discussion! LOL. A pattern maker I am NOT. However, I am sharing ‘lessons learned’. This is part of my wrap-up on masks.
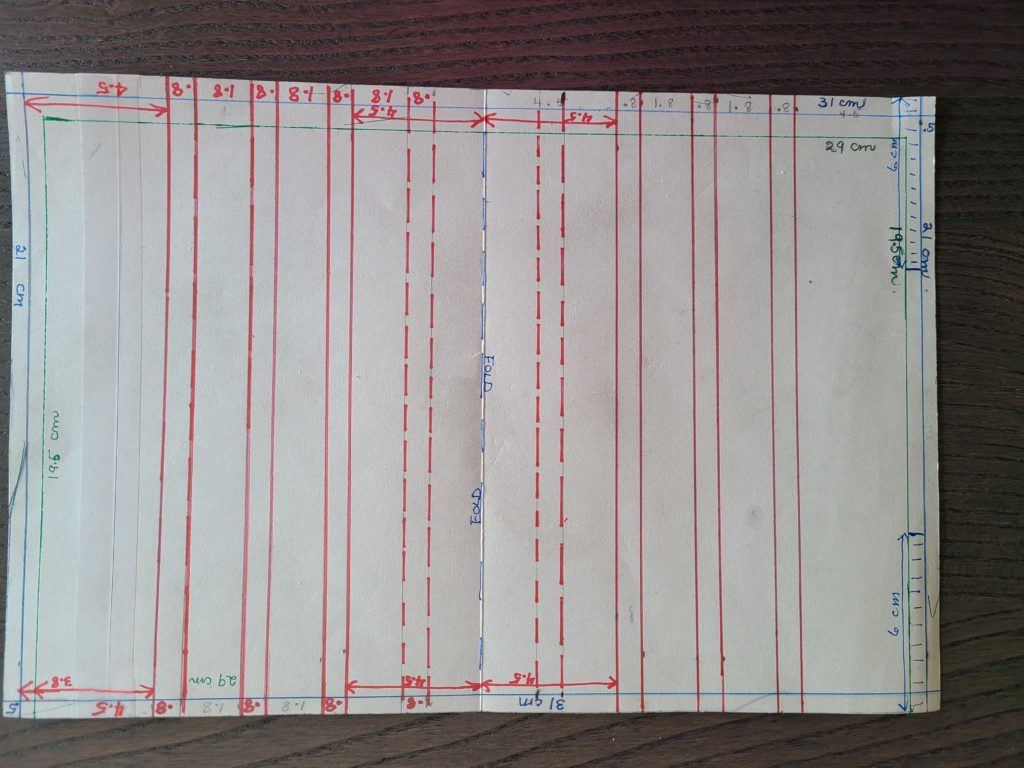
I used a basic pattern found on line, one that I shared previously. I created a template on card stock for repeat usage. The full pattern works well for men and the green lines may be more suitable for women and youth. The lines in red indicate the three pleats in the original pattern and I have added dotted red lines for the optional fourth pleat that I find useful for customizing the fit. I have a few adaptations to the construction process that I will add to this pattern.
Instructions
Chose the level of filtration desired. Most of the research indicates that the virus is so small that fabric, even multiple layers of fabric, without a liner of non-woven material is of little use in blocking the virus.
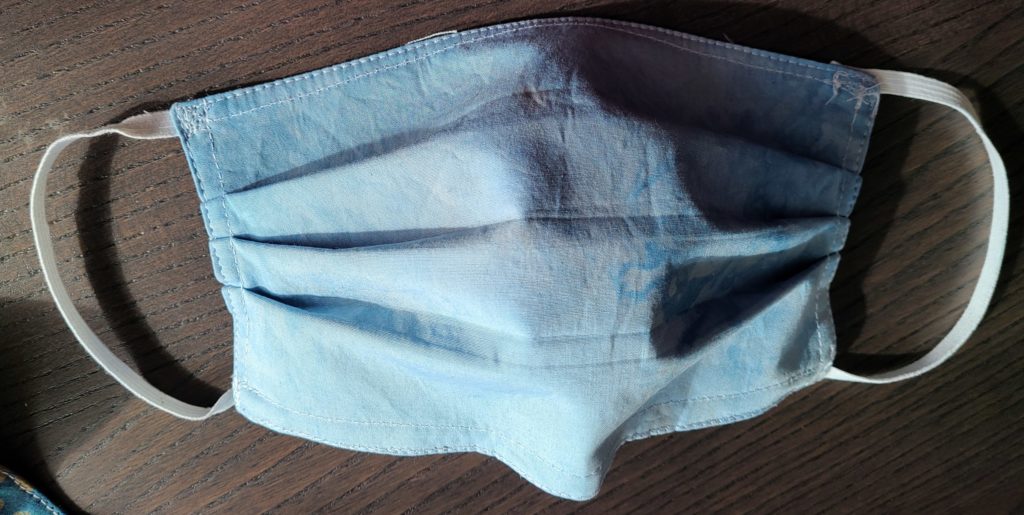
For Simple Cloth Surgical Style Mask
(as illustrated in blue mask)
- Use the outside edge of template to cut fabric. Note my pattern is marked for two widths.
- Place fabric on NON-WOVEN interfacing. If using fuse-able interfacing, place wrong side of the fabric on the glue side of the interfacing and press with a hot iron. If using non fuse-able interfacing treat the two layers as one. I do not recommend making the simple cloth mask, or any mask, without interfacing.
- Fold the fabric and interfacing in half, right sides together,and stitch the long edge. If using elastic, see below for instructions. Stitch the side (short) edges leaving an opening to turn the fabric to the right side.
- Turn the stitched fabric to the right side through the opening . Press.
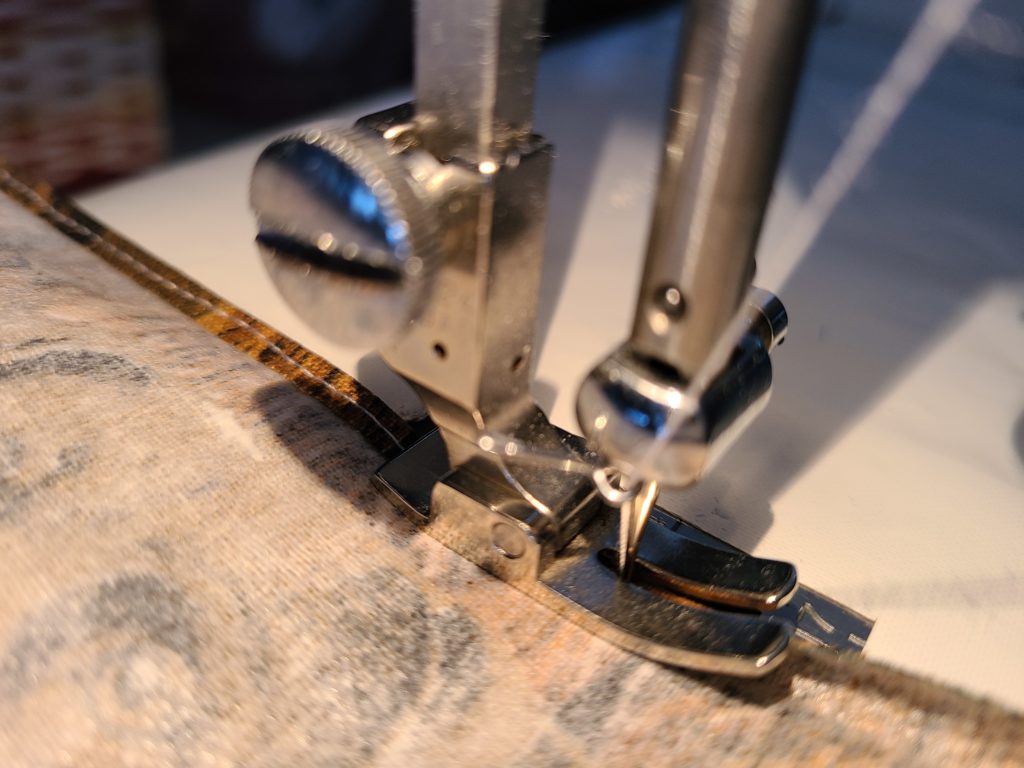
- Insert a wire along the top edge, via the opening, and stitch below it to keep it in place (about .5 cm down from top of mask)
- Top-stitch the edges on the four sides of the mask.
- Form pleats and stitch to hold them in place.
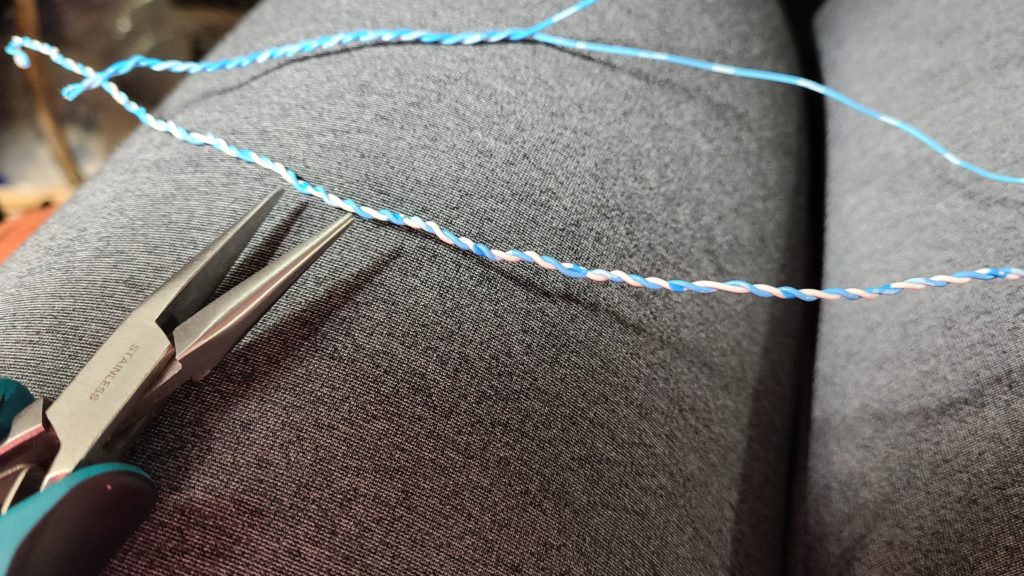
- If using the binding method described below, stitch a wire pocket about 1 cm wide along the folded edge (top of mask). Insert wire, pipe cleaner etc. into the pocket created before proceeding.
- Form and pin pleats along the new sides (folded long edge) of the mask. Try the three pleats version first but I like the four pleats better. Makes sure that the pleats are sloped down. It also good to make sure that the outside of a mask made with a one-way fabric is right-side-up.
For Surgical Style Mask with Pocket
- For a surgical cloth mask with a pocket for an insert, fold 1/4 inch of short edge of fabric to wrong side and stitch along the edge of the fold.
- Then fold the fabric and interfacing in half and stitch the short edge in about 6 cm from each side, back-stitching to secure end of stitching. This creates an opening in the middle.

- Press the seam open and turn the stitched fabric to the right side. Roll the cylinder formed by this stitching so that the opening is about 1.5 cms from the edge of the doubled fabric. Press so that both top and bottom of the mask are aligned.
- Stitch a wire pocket about 1 cm wide along the folded edge closest to the opening (top of mask). Insert wire, pipe cleaner etc. into the end of the pocket created.
- Form and pin pleats along the new sides (folded long edge) of the mask. Try the three pleats version first but I like the four pleats better. Makes sure that the pleats are sloped down. It also good to make sure that the outside of a mask made with a one-way fabric is right-side-up. The opening should occur under the edge of a pleat. Adjust if necessary.
Form and pin pleats along the new sides (folded long edge) of the mask. Try the three pleats version first but I like the four pleats better. Makes sure that the pleats are sloped down. It also good to make sure that the outside of a mask made with a one-way fabric is right-side-up.
Both Types of Masks
Inserting Elastic Loops into Seam
My first masks were made by laying the elastic on the right side of the fabric in a loop from each side of the mask facing towards the centre of the mask and pinning the elastic to the top and bottom inside the loop of the folded fabric. I then stitched the side seams except for a small opening I left to turn the fabric right side out. This releases the ear loop. The opening was closed when I stitched the pleats or side of the mask closed. Sorry I didn’t photograph this.
Types of Ties
Before proceeding further I give the mask a good press so that the pleats lie flat. Make sure they align from side to side.
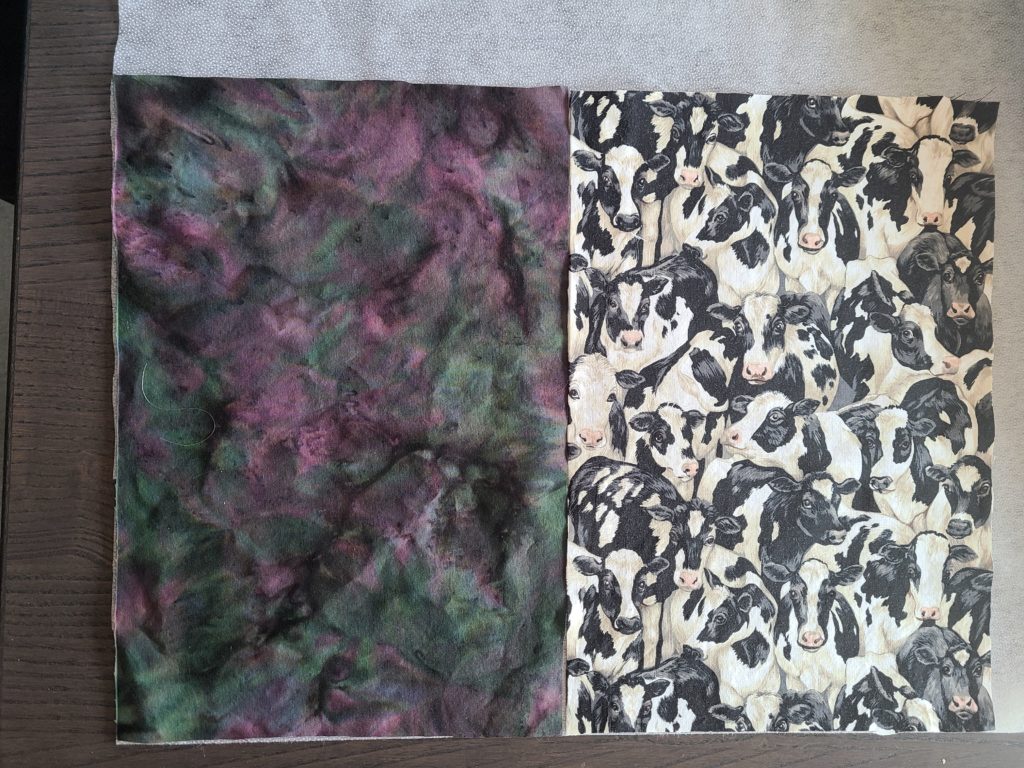
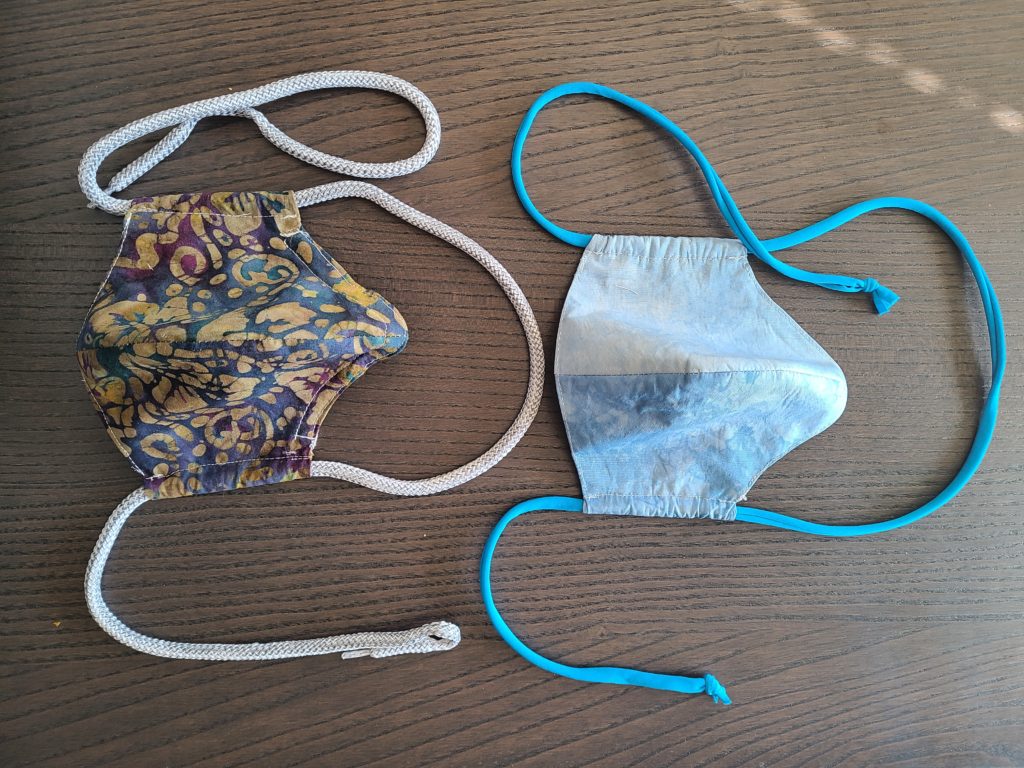
I now add a binding strip to the sides of the pleated mask. It is important that the thickness of the pleated mask does not fill the channel created with this binding. It becomes difficult to feed elastic or ties made from fabric through if it is added without leaving an empty channel. I have been using a 5 cm strip of fabric for this channel folded to create a ‘double fold’ (.6 cm folded edge, resulting strip folded in half) but may make future strips slightly wider. (cows) The second ‘shaped’ style allowed for folded ends to form a channel for the ties.
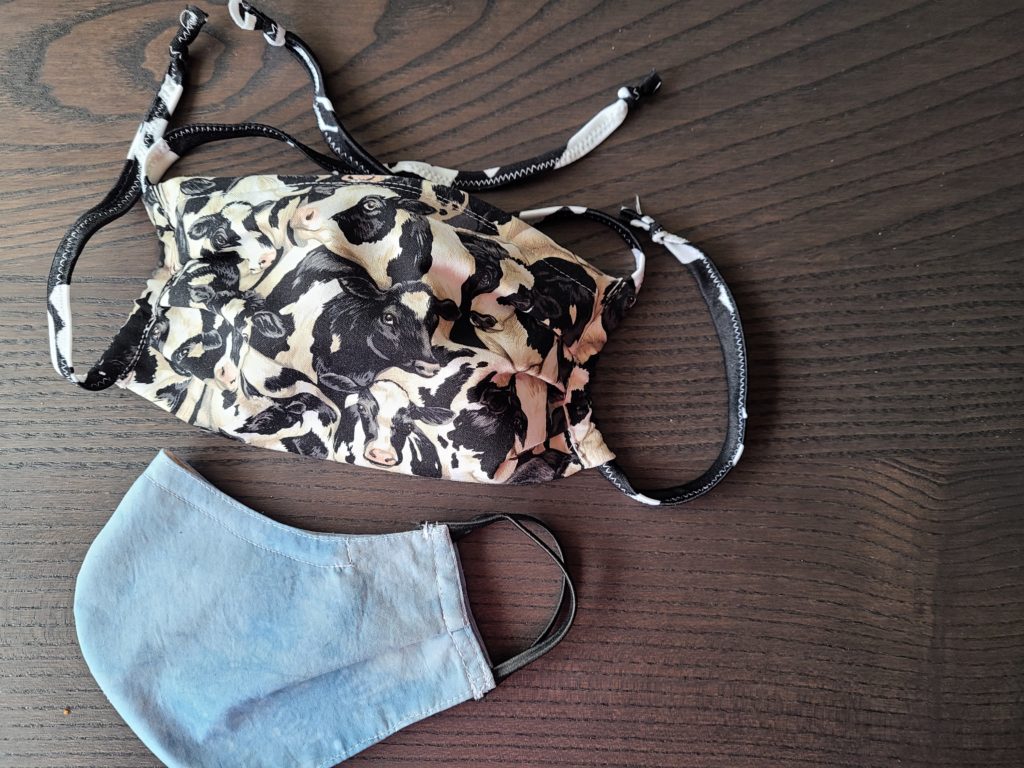
A friend suggested leaving the ties like this so that the top loops around the head one only has to tie the lower. Some masks have a continuous loop on each side and must be tied top and bottom. We haven’t formed a preference in this household.
Our family prefers the elastic ear loops. Hopefully I can find another supply of elastic for future masks.
Post Script
Just heard from my son. I need to customize his masks. LOL. That’s why mass produced masks aren’t the best option! Just heard the Alberta government may be promoting the use of masks by the general public.
If you have questions or suggestions to clarify these instructions please post here. I will reply here and make it easier for others to find the info.
I’m finding that I don’t like the elastic because I wear glasses plus hearing aids. For the flat folded mask I am using the recycled jersey tie as in the fitted pattern. I added an extension to the flat mask to pull the tie through.The stretchy T-shirt jerseys enough hold to sit the mask quite snug.
Hi Diane
Just starting and I have a limited amount of interfacing. Did you interface the entire thing, ending up with 2 layers of fabric and two layers of interfacing?
Marion
Yes. The non woven fabric is the only layer to do some filtration. The virus passes through the woven fabric. That is why an insert should be non woven as well eg a shop towel, etc.
Thanks for this Diane! Is there a difference between the sew-in interfacing and the fusible? I haven’t found anything that states if one is better than the other. Wondering if you found anything definitive about this. I did see you gave instructions for fusible one your post, which is the first time I have seen it in any of the mask patterns I have found.
Hi Mary,
There are different grades of interfacing and there are some better than others. I think a heavier one than the one I am using would be better but I am just working with what is on hand. I think many grades come both fusible and not – and it really doesn’t matter if it is fusible or not. I can’t remember the article – it may be in one of the videos I shared – that three weights were recommended. That’s why I didn’t give specifics on this. The main thing is to back the woven with an non-woven material – to reduce the number of spaces that the virus might come through.
Diane