Thanks Leah Day!

I’m finally back at my sewing machine. Thanks to surgery and physiotherapy, the wrist is working fairly well, although my coordination is not what I’d like it to be. So I designed my own therapy to work on that!
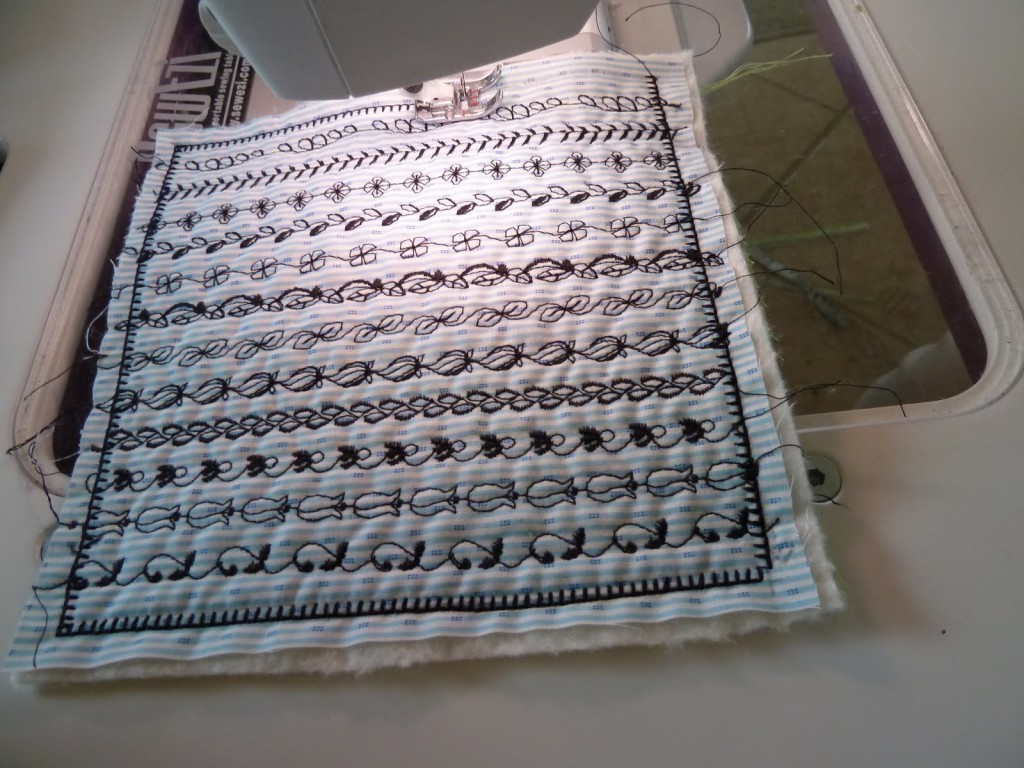
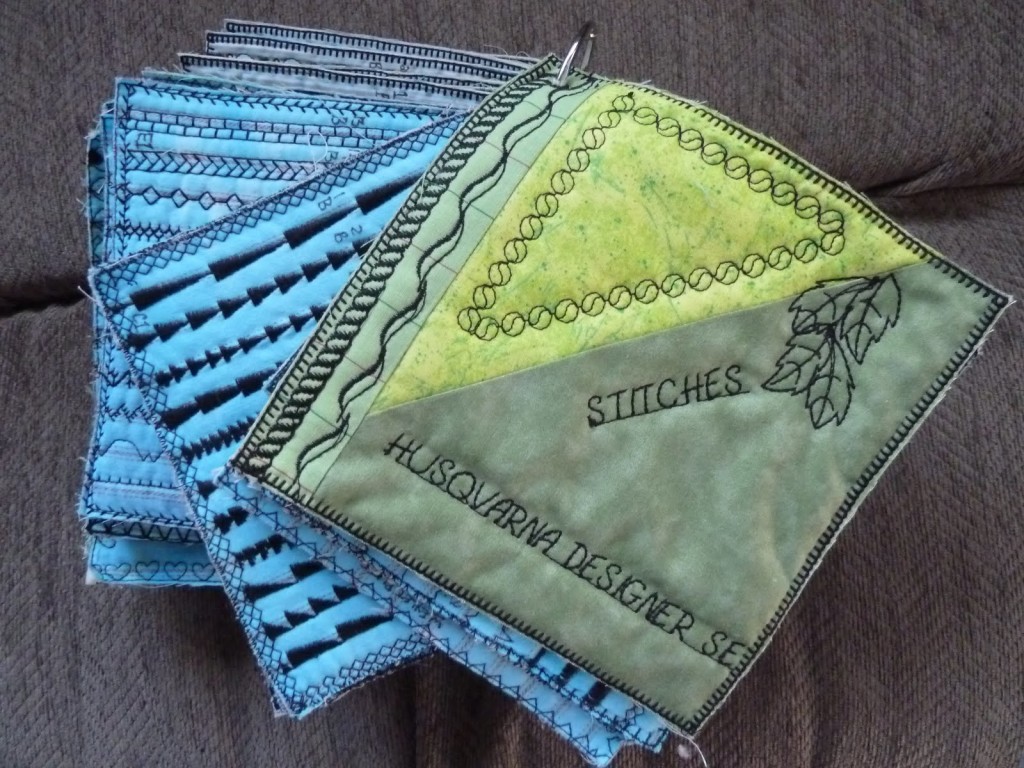
I started about a month ago when I tackled a task I had talked about for two years – documenting the built-in embroidery stitches on my sewing machine. Somehow the computer images just don’t tell the whole story. Forty two six-inch squares later I have a reference file of the actual size and scale of each stitch and what a feast.
All the time I was working on these samples I was thinking about how they could be used in my work. Even the edges of the samples were tests for various edge finishes that will work on small pieces, postcards, ATC etc. Some are working better than others but that is what ‘testing’ is all about. Because the project just involved preparing the fabric sandwiches (I stitched on a quilting sandwich because I want to see the texture added by the stitches) and setting the machine, this was a great project to reduce my frustration with not being able to work on my art.
All that as an introduction to my newest project and the next step in my ‘therapy’. It’s been almost a year since I have been able to do any fiber art and I find that my skills need some refreshing. Although I was able to work at my quilt frame earlier, I am aware that my hand coordination for free motion quilting while sitting at my machine has really suffered and I am not able to work with the precision that I am accustomed to.
This is where Leah Day’s website 365 Days of Free Motion Quilting Filler Designs comes into the picture. Using the concept I developed for my sample book of machine stitches, I’ve started a second sample book using her patterns. I find that when I am working on a specific piece I can never find ‘the right’ idea for quilting and tend to revert to the same old ones. By actually stitching the samples I embed each pattern in my memory – although it may become buried – but the book will act as a reminder of options that I have tested. I’ll also be able to hold the sample to the piece to be stitched to make it easier to visualize the effect. Later I’ll check out some of the books in my library for other ideas.
Constructing the Sample Books

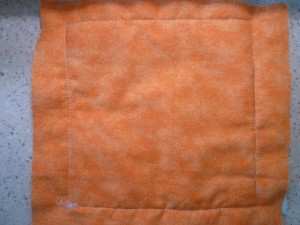

I prefer cutting the samples before stiching the edge otherwise I may cut into the stich and this way it squares it off as I want even if my sample has an imperfect square I can correct that then and stich after.
Found where to comment – not easy
YOu totally inspired me to get going on trying those samples and once you already figured out the method- fabric, preparation- size and neat way to make the samples useful, 1/2 the work was done for me. I love how you are totally organized while my method is usually so haphazard .Do you think I started at day 1? no way.so now I have to go back and number them but I will. I'm now down 12..I just pick 'm depending on the mood i'm in or what I need to practice on but definitely a great excersise since you don't care if you're not too good at it.