Journal Quilt – T is for Travel, Time, Turmoil

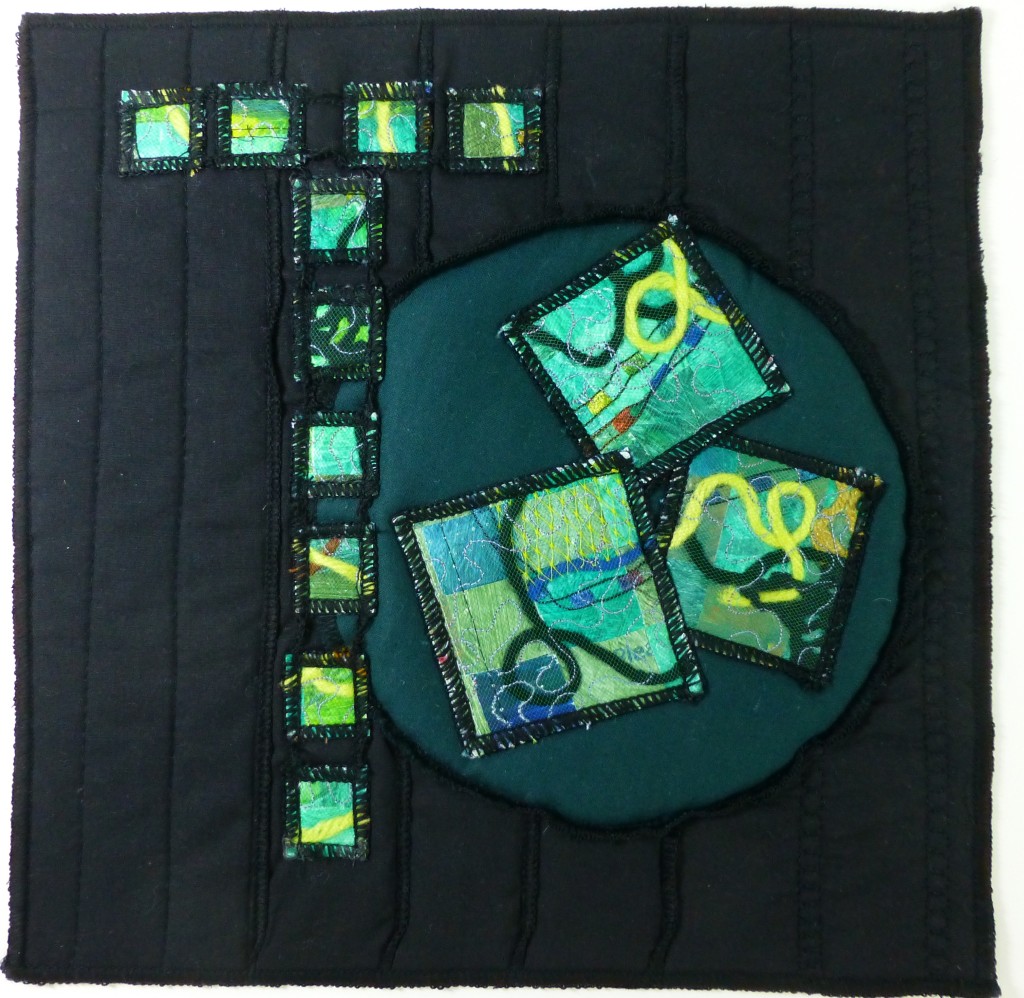
Journal Quilt – T is for Travel, Time, Turmoil, fibre art, 12×12″ © 2012 Diane Duncan
This time I chose to use another of my ‘recycled’ fabrics for my August journal quilt. I pulled out a piece of ‘fabric’ created from fused shopping bags and created my artist trading cards for the FAN retreat in September and some ‘inchies’ and squares that are incorporated into this piece. Nothing goes to waste!
My Inspiration
August proved to be another crazy month! I chose ‘T’ for a number of reasons. The first part of the month was an intense period of trying to get ‘stuff’ sorted at the condo before we headed to Torrington, AB for an Escapee RV Club rally. What fun that was and a wonderful change from the work of the past couple of months. It was a rush to get ready – – ‘time’ was an issue – but the remainder of the month, after the rally, promised to be more relaxing….I thought! After a week of fun and frolic with new friends, we moved on – more ‘travel’ – to our ‘home away from home’ on a farm near Welling AB where Don (who has a reprieve from his problems) operates a combine for the harvest season. It means that I have ‘days’ to myself – usually from 7:30 am until midnight! Bliss! Sewing machine out and ready to go! Or so I thought….! The last week of August brought the news that our son had been hospitalized with a ‘hot’ bacteria infection in his leg. After a couple of days I decided to head back to Calgary, a change of plans which led to a scramble of preparations for Don to be left on his own (with laundry done, groceries stocked and sandwiches made and frozen!). I decided to take a load of stuff from the RV to the condo and of course that created ‘turmoil’ at the destination – needing to fit more things into a very minimal kitchen. All this and babysitting our granddaughter to help out. A hospital visit revealed just how sick our son was so of course that was a major worry!
Technique
One of the parameters that I have given myself for this series is that I use materials and supplies I currently have on hand as much as possible. For my background fabric, I joined strips of fabric cut from the edges of a quilt back. I seamed them using my serger and decided to leave the stitching exposed and added a few more for textural detail. Years ago I learned a technique for quickly and easily inserting circles into a fabric background and once again decided to leave my stitching showing. For those who are interested in learning more about this technique, it’s one that uses the Cheryl Phillips‘Cut a Round’ templates – you cut the opening 1 inch smaller than the circle. It works every time! This gave me my background for a simple applique design incorporating the letter ‘T’.

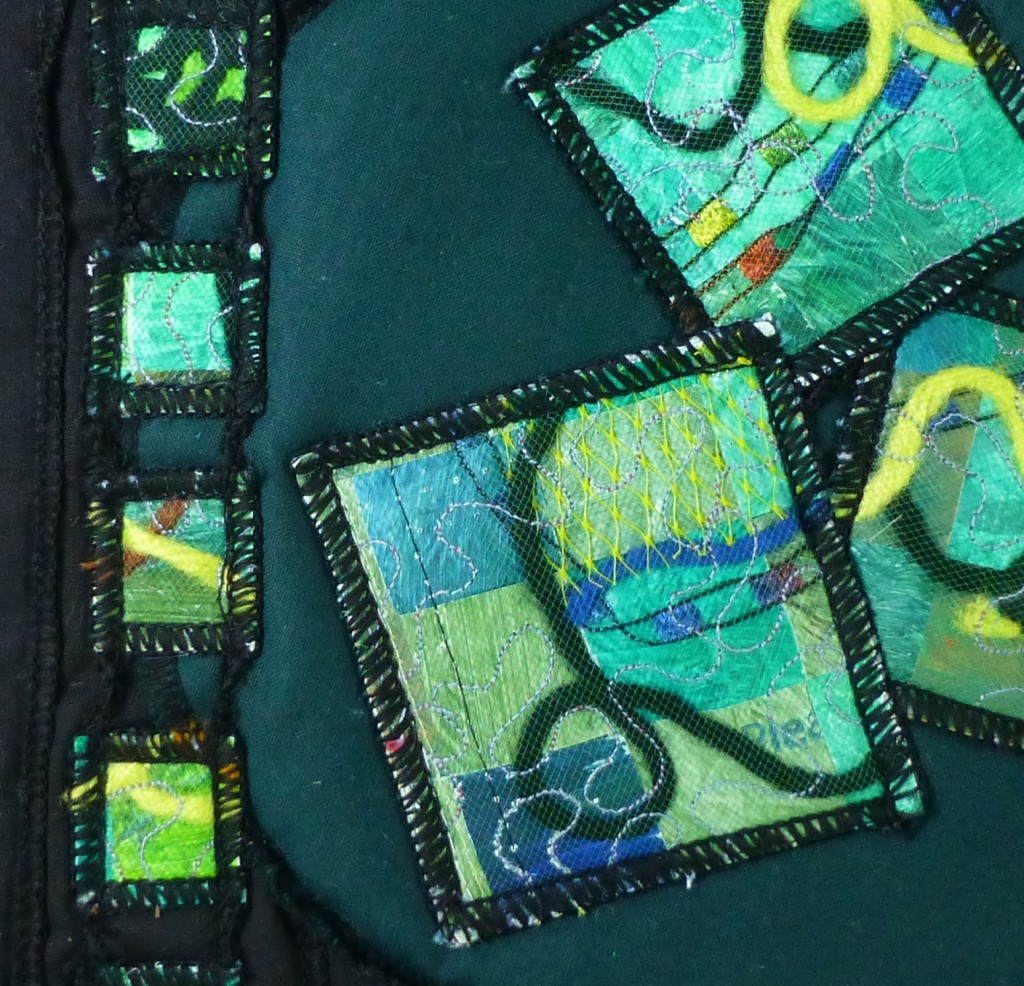
T is for Travel, Time, Turmoil….Journal Quilt Detail
The fused plastic bag fabric was created about a year ago from multi-layers of shopping bags between parchment paper and ironed with a warm iron until fused. The resulting pieces were painted with acrylic paint, cut into strips and then woven into new fabric. The weaving process now provided a double layer of strips and a very stable ‘fabric’ when the edges were anchored by a row of stitching. This ‘fabric’ was then placed on a backing of cotton and topped with a mix of yarns, fabric bits, onion netting etc. and then top with a layer of fine netting before being quilted. This actually form a true quilt with the three layers! I picked this idea up from my web-friend Dale Anne Potter. Just to make things a little more challenging for myself I used ‘trapunto’ to accent the circle on my background by adding a layer of batting and stitching around the circumference, before adding the squares and inchies of my fused shopping bag fabric to the background fabric. Of course they sport ‘serged’ edges to tie-in with the the background fabric that I created. At this point a layer of batting and the backing fabric was added, the seams and shapes ‘edge stitched to ‘quilt’ the fabrics and the outside edge serged to complete the piece.
